
Macの画面をスクリーンショットで保存できるMacアプリ「スクリーンショット」の使い方をご紹介します。
目次
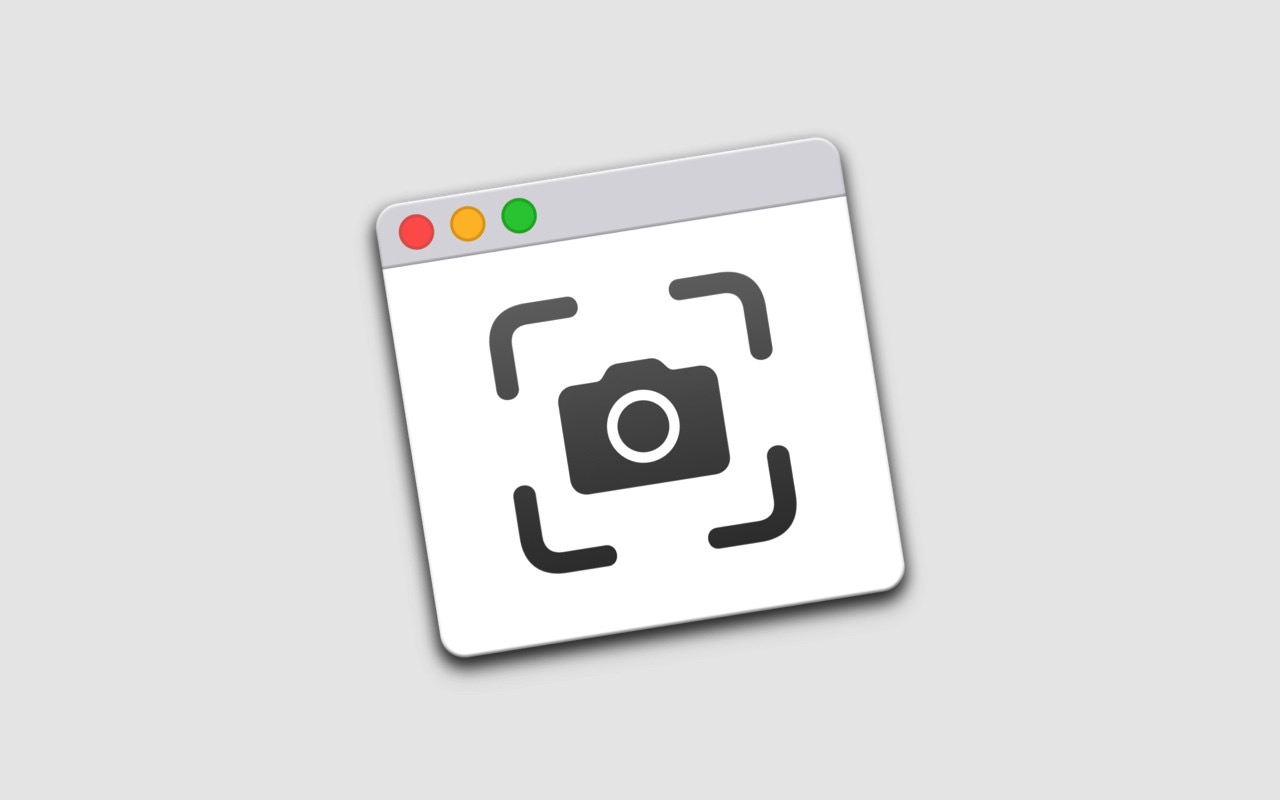
Macアプリ「スクリーンショット」とは?
「スクリーンショット」は、MacにプリインストールされているApple純正のスクリーンショット撮影アプリです。
画面の一部・全画面・ウィンドウ単位で静止画の撮影が可能です。
また、5秒もしくは10秒後のカウントダウン後に静止画を撮影したり、画面録画(動画キャプチャ)もできる便利なアプリケーションです。
ちなみに「スクリーンショット」は、macOS High Sierra(ハイ シエラ)まで「グラブ」と呼ばれていました。

「macOS Mojave(モハベ)」以降は「グラブ」は廃止され、「スクリーンショット」アプリとして生まれ変わっています。
Macアプリ「スクリーンショット」を起動する方法
「アプリケーション」フォルダ→「ユーティリティ」フォルダの順にクリックし、「スクリーンショット」アプリを起動します。


Macアプリ「スクリーンショット」の使い方
「スクリーンショット」を起動すると、デスクトップの下に「スクリーンショット」のメニューが表示されます。

画面全体のスクリーンショットを取り込む
「スクリーンショット」のメニューにある左から1番目のアイコンをクリックします。

カーソルがカメラ・アイコンになるので、画面上をワンクリックすると画面全体の静止画を取り込むことができます。

選択したウィンドウのスクリーンショットを取り込む
「スクリーンショット」メニューの左から2番目のアイコンをクリックします。

選択したウィンドウの静止画を読み込むことができます。

選択部分のスクリーンショットを取り込む
「スクリーンショット」メニューの左から3番目のアイコンをクリックします。

点線で囲った部分の静止画を取り込むことができます。

画面全体を動画で収録する
「スクリーンショット」メニューの左から4番目のアイコンをクリックします。

次に「収録」ボタンをクリックすると、画面全体の画面録画(動画キャプチャ)が開始されます。

画面録画を終了するときは、メニューバーにある停止ボタンをクリックします。

選択した部分を動画で収録する
「スクリーンショット」メニューの左から5番目のアイコンをクリックします。

次に画面録画の範囲を設定し、収録ボタンをクリックします。

動画収録を終了するときは、メニューバーにある停止ボタンをクリックします。
「スクリーンショット」のオプション設定
「スクリーンショット」メニューの最も右側にある「オプション」ボタンをクリックします。

下記のオプションを自由に設定することができます。
- スクリーンショットの保存先の変更
- カウントダウンタイマー(なし/5秒/10秒)
- フローティングサムネールを表示
- 最後の選択部分を記憶
- マウスポインタの表示
上記の設定は、お好みに合わせて設定してみてください。
カウントダウンタイマーと動画収録が便利

「スクリーンショット」アプリを使えば、通常のスクリーンショット撮影はもちろん、カウントダウンタイマーでスクリーンショットを取り込んだり、全画面もしくは画面一部の動画収録も可能になります。
とても便利な機能なので、是非お試しください。


キーボードの「shift + command + 5」キーを押して呼び出すこともできます。